Bootstrap Menu Themes
Intro
Even the simplest, not speaking of the more challenging web pages do need special kind of an index for the visitors to easily get around and discover exactly what they are actually looking out for in the very first couple of secs avter their arrival over the web page. We need to regularly think a visitor might be in a hurry, exploring a number of web pages for a while scrolling over them trying to find a specific product or else choose. In these cases the obvious and well specified navigating menu might possibly make the variation when comparing one new customer and the webpage being simply clicked away. So the building and behavior of the page navigation are crucial without a doubt. Moreover our web sites get more and more watched from mobile phone in this way not owning a web page and a site navigation in special acting on smaller sized sreens practically equals not owning a web page anyway and even a whole lot worse.
Fortunately the new fourth version of the Bootstrap system grants us with a powerful solution to take care of the case-- the so called navbar feature or else the selection bar people got used watching on the tip of the majority of the web pages. It is definitely a basic yet highly effective instrument for covering our brand's identification data, the web pages structure and a search form or else a several call to action buttons. Let us see just how this whole thing gets performed inside Bootstrap 4.
Ways to employ the Bootstrap Menu Builder:
First we desire a
<nav>.navbar.navbar-light.bg-fadedbg-inverse.navbar-inverseYou are able to likewise use one of the contextual classes like
.bg-primary.bg-warningAnother bright new feature introduced in the alpha 6 of Bootstrap 4 framework is you need to in addition designate the breakpoint at which the navbar must collapse in order to get shown once the selection button gets clicked. To do this add in a
.navbar-toggleable- ~the desired viewport size ~<nav>Next step
Next off we have to build the so called Menu button that will appear in the place of the collapsed Bootstrap Menu Tutorial and the visitors will utilize to bring it back on. To accomplish this develop a
<button>.navbar-togglerdata-toggle =“collapse”data-target =“ ~ the ID of the collapse element we will create below ~ ”.navbar-toggler-rightProvided information
Navbars come up with incorporated support for a fistful of sub-components. Choose from the following as wanted :
.navbar-brand.navbar-nav.navbar-toggler.form-inline.navbar-text.collapse.navbar-collapseHere is actually an illustration of all the sub-components involved in a responsive light-themed navbar that instantly collapses at the
md
<nav class="navbar navbar-toggleable-md navbar-light bg-faded">
  <button class="navbar-toggler navbar-toggler-right" type="button" data-toggle="collapse" data-target="#navbarSupportedContent" aria-controls="navbarSupportedContent" aria-expanded="false" aria-label="Toggle navigation">
    <span class="navbar-toggler-icon"></span>
  </button>
  <a class="navbar-brand" href="#">Navbar</a>

  <div class="collapse navbar-collapse" id="navbarSupportedContent">
    <ul class="navbar-nav mr-auto">
      <li class="nav-item active">
        <a class="nav-link" href="#">Home <span class="sr-only">(current)</span></a>
      </li>
      <li class="nav-item">
        <a class="nav-link" href="#">Link</a>
      </li>
      <li class="nav-item">
        <a class="nav-link disabled" href="#">Disabled</a>
      </li>
    </ul>
    <form class="form-inline my-2 my-lg-0">
      <input class="form-control mr-sm-2" type="text" placeholder="Search">
      <button class="btn btn-outline-success my-2 my-sm-0" type="submit">Search</button>
    </form>
  </div>
</nav>
Brand
The
.navbar-brand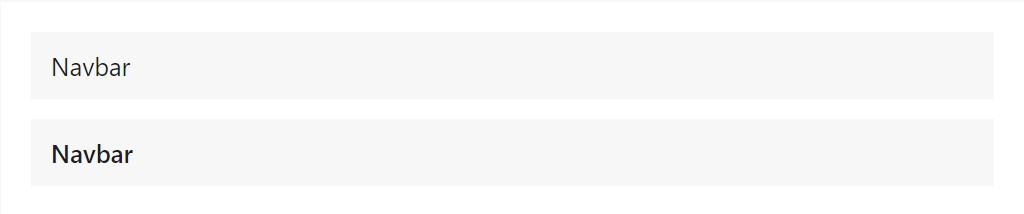
<!-- As a link -->
<nav class="navbar navbar-light bg-faded">
  <a class="navbar-brand" href="#">Navbar</a>
</nav>

<!-- As a heading -->
<nav class="navbar navbar-light bg-faded">
  <h1 class="navbar-brand mb-0">Navbar</h1>
</nav>
Nav
Navbar navigation links founded on Bootstrap
.navActive forms-- with
.active.nav-links.nav-items
<nav class="navbar navbar-toggleable-md navbar-light bg-faded">
  <button class="navbar-toggler navbar-toggler-right" type="button" data-toggle="collapse" data-target="#navbarNav" aria-controls="navbarNav" aria-expanded="false" aria-label="Toggle navigation">
    <span class="navbar-toggler-icon"></span>
  </button>
  <a class="navbar-brand" href="#">Navbar</a>
  <div class="collapse navbar-collapse" id="navbarNav">
    <ul class="navbar-nav">
      <li class="nav-item active">
        <a class="nav-link" href="#">Home <span class="sr-only">(current)</span></a>
      </li>
      <li class="nav-item">
        <a class="nav-link" href="#">Features</a>
      </li>
      <li class="nav-item">
        <a class="nav-link" href="#">Pricing</a>
      </li>
      <li class="nav-item">
        <a class="nav-link disabled" href="#">Disabled</a>
      </li>
    </ul>
  </div>
</nav>
Forms
Install several form regulations and elements inside of a navbar with
.form-inline
<nav class="navbar navbar-light bg-faded">
  <form class="form-inline">
    <input class="form-control mr-sm-2" type="text" placeholder="Search">
    <button class="btn btn-outline-success my-2 my-sm-0" type="submit">Search</button>
  </form>
</nav>
Text
Navbars may include bits of content with the help of
.navbar-text
<nav class="navbar navbar-light bg-faded">
  <span class="navbar-text">
    Navbar text with an inline element
  </span>
</nav>
One more element
Yet another bright brand new function-- inside the
.navbar-toggler<span>.navbar-toggler-icon.navbar-brandNext we need to create the container for our menu-- it will extend it to a bar together with inline items above the determined breakpoint and collapse it in a mobile phone view below it. To execute this establish an element using the classes
.collapse.navbar-collapse.navbar-toggler.collapseConcluding aspect
Finally it is definitely moment for the real site navigation menu-- wrap it in an
<ul>.navbar-nav.nav<li>.nav-item.nav-linkConclusions
And so generally speaking this is actually the form a navigating Bootstrap Menu HTML in Bootstrap 4 should hold -- it is certainly quite useful and user-friendly -- now the only thing that's left for you is considering the correct building and appealing captions for your web content.
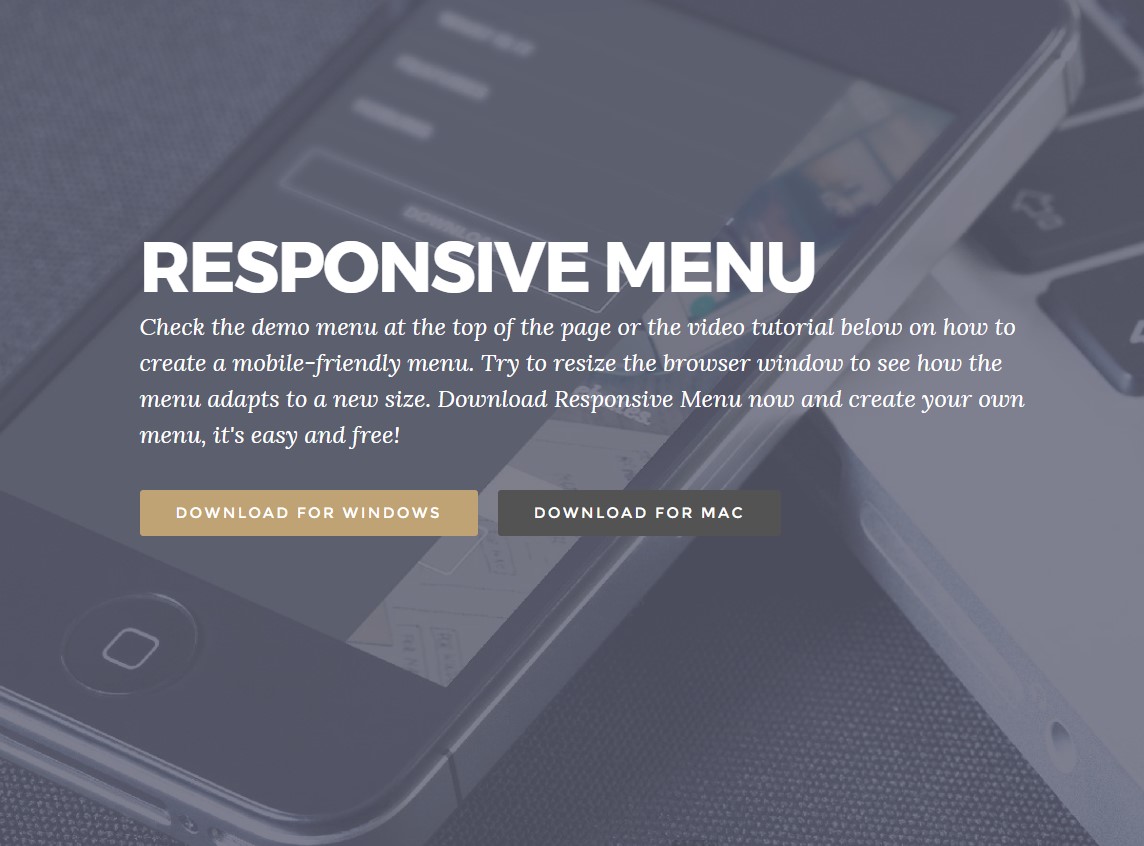
Inspect some online video tutorials regarding Bootstrap Menu
Related topics:
Bootstrap menu authoritative documents

Mobirise Bootstrap menu
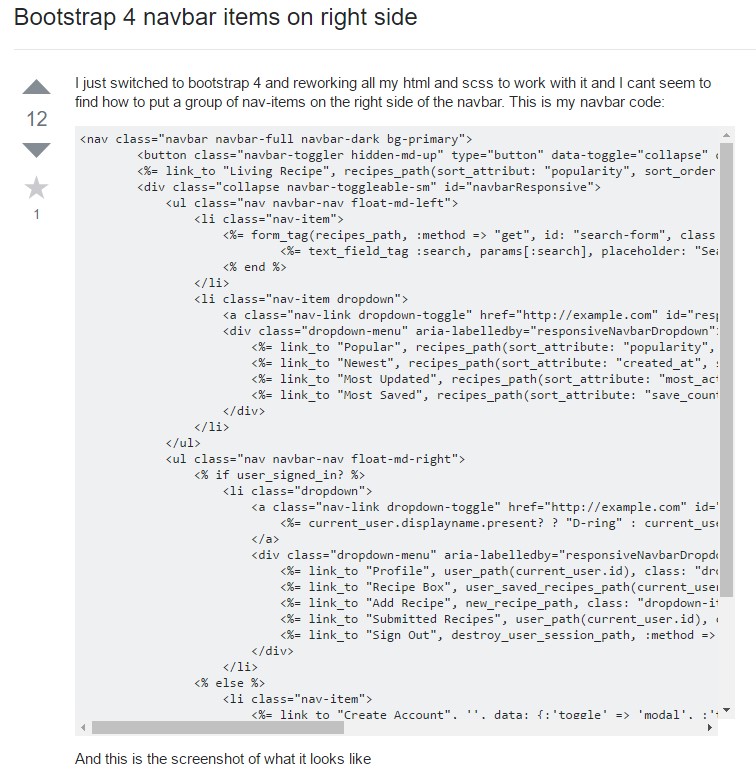
Bootstrap Menu on the right side